Ingredients
Scale
- 3 cups all-purpose flour (you can substitute half with whole wheat flour for a heartier loaf)
- 1 teaspoon instant yeast
- 1 ½ teaspoons salt
- 1 ½ cups warm water (about 110°F)
- 1 whole head of garlic
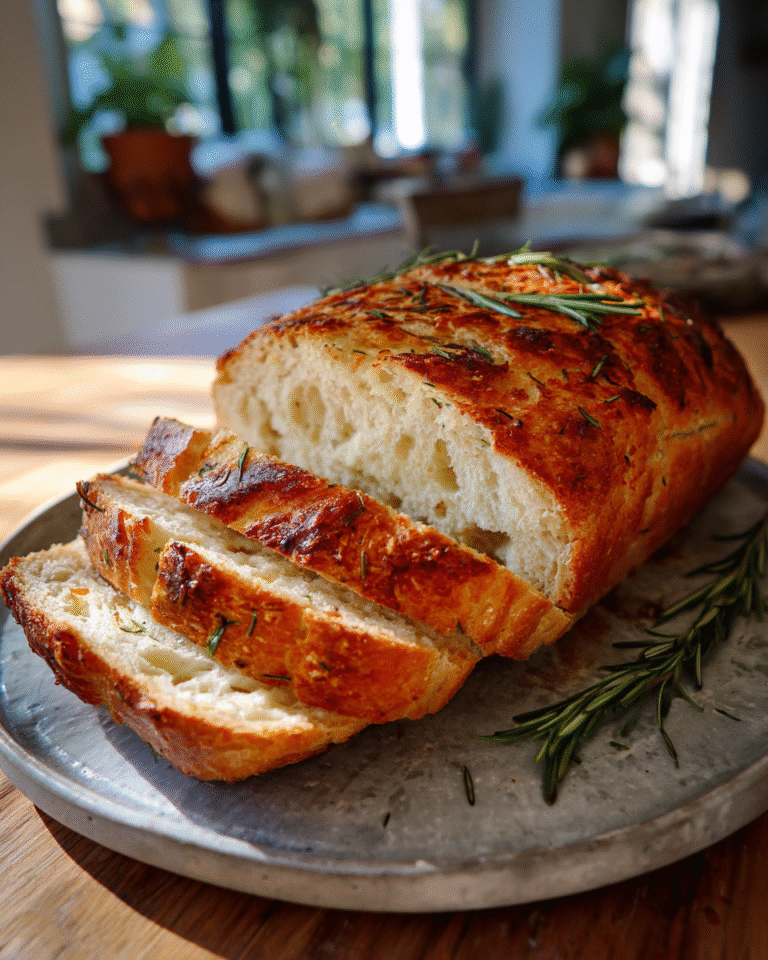
- 2 tablespoons fresh rosemary, finely chopped (dried rosemary can be used, but fresh really brightens the flavor)
- 2 tablespoons olive oil, plus extra for drizzling
- Optional: a sprinkle of sea salt on top before baking for extra crunch
Instructions
- Begin by roasting your garlic. Preheat your oven to 400°F. Slice off the top of the garlic head to expose the cloves, drizzle with olive oil, wrap in foil, and roast for about 30-35 minutes until soft and fragrant. This step fills your kitchen with that irresistible aroma I always associate with comfort and home.
- While the garlic roasts, mix the flour, instant yeast, and salt together in a large bowl. I like to whisk these dry ingredients first to get everything evenly distributed—something my grandmother always emphasized to me.
- Once the garlic is cool enough to handle, squeeze the softened cloves out of their skins and mash them with a fork.
- Add the mashed roasted garlic, chopped rosemary, olive oil, and warm water to the flour mixture. Stir everything together with a wooden spoon or your hand until you have a shaggy, sticky dough. Resist the urge to knead! This dough is meant to be loose and a bit messy.
- Cover the bowl tightly with plastic wrap or a clean kitchen towel and let it rest at room temperature for 12 to 18 hours. This slow fermentation is what gives the bread its wonderful texture and flavor. I usually prepare this the night before and wake up to a bubbly, alive dough—one of my favorite sights in the kitchen.
- When ready to bake, preheat your oven to 450°F. Place a heavy Dutch oven or oven-safe pot with a lid inside to heat up as well. This mimics a professional steam oven and helps develop a crusty exterior.
- Carefully turn the dough out onto a well-floured surface. With floured hands, shape it gently into a round loaf, folding the edges underneath to create surface tension. If you like, sprinkle a little sea salt and some rosemary on top.
- Remove the hot Dutch oven from the oven (be careful!) and place the dough inside. Cover with the lid and bake for 30 minutes. Then remove the lid and bake for an additional 15 minutes to get that perfect golden crust.
- Once baked, transfer the bread to a wire rack and let it cool completely before slicing. This step is crucial—it helps the crumb set and makes slicing easier. This waiting period always tests my patience, but it’s worth it every time.
- Prep Time: 15 minutes
- Cook Time: 30 minutes
- Category: Main Dish
- Method: Cooking
- Cuisine: International