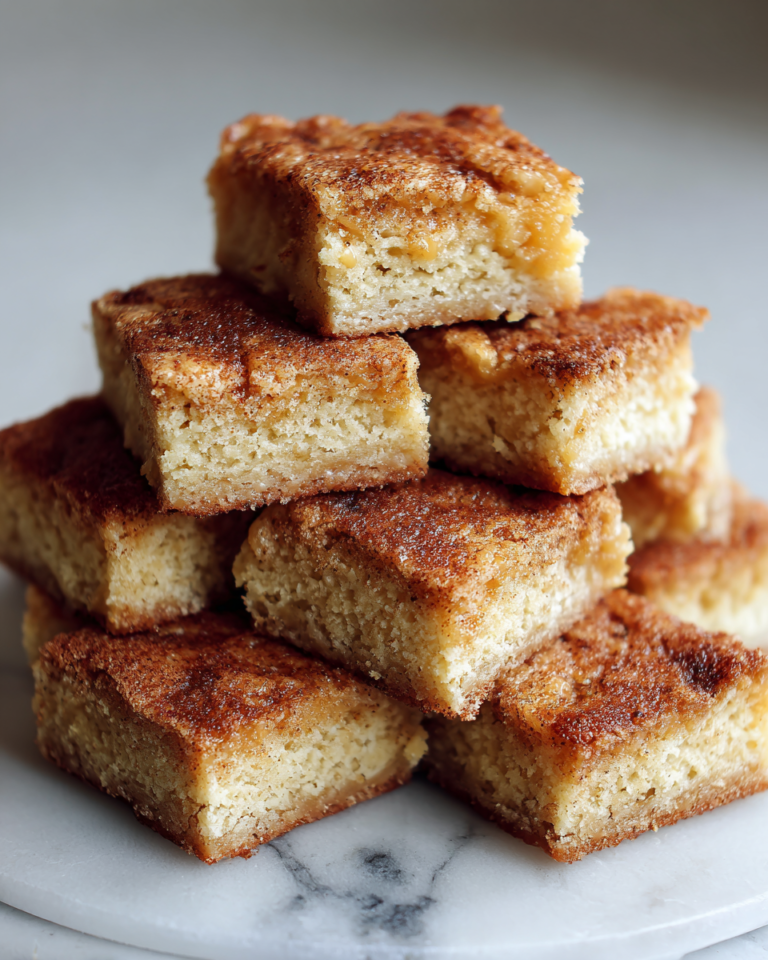
Irresistible No-Bake Oreo Peanut Butter Bars You Have to Try
There’s something truly special about desserts that don’t require heating up the kitchen, especially when you’re juggling family, work, and all the beautiful chaos that life throws your way. That’s why I’m so excited to share my recipe for No-Bake Oreo Peanut Butter Bars—a sweet treat that’s as effortless as it is delicious. These bars have become a fast favorite in my house, perfect for those moments when I want to whip up something comforting without spending hours at the stove or oven. They remind me of the afternoons I spent standing on a stool in my grandmother’s kitchen, watching her magically turn simple ingredients into family treasures. Now, I’m passing that magic along to you, with a recipe that celebrates the love, laughter, and connection that food brings to our tables.
Table of Contents
Why You’ll Love This No-Bake Oreo Peanut Butter Bars
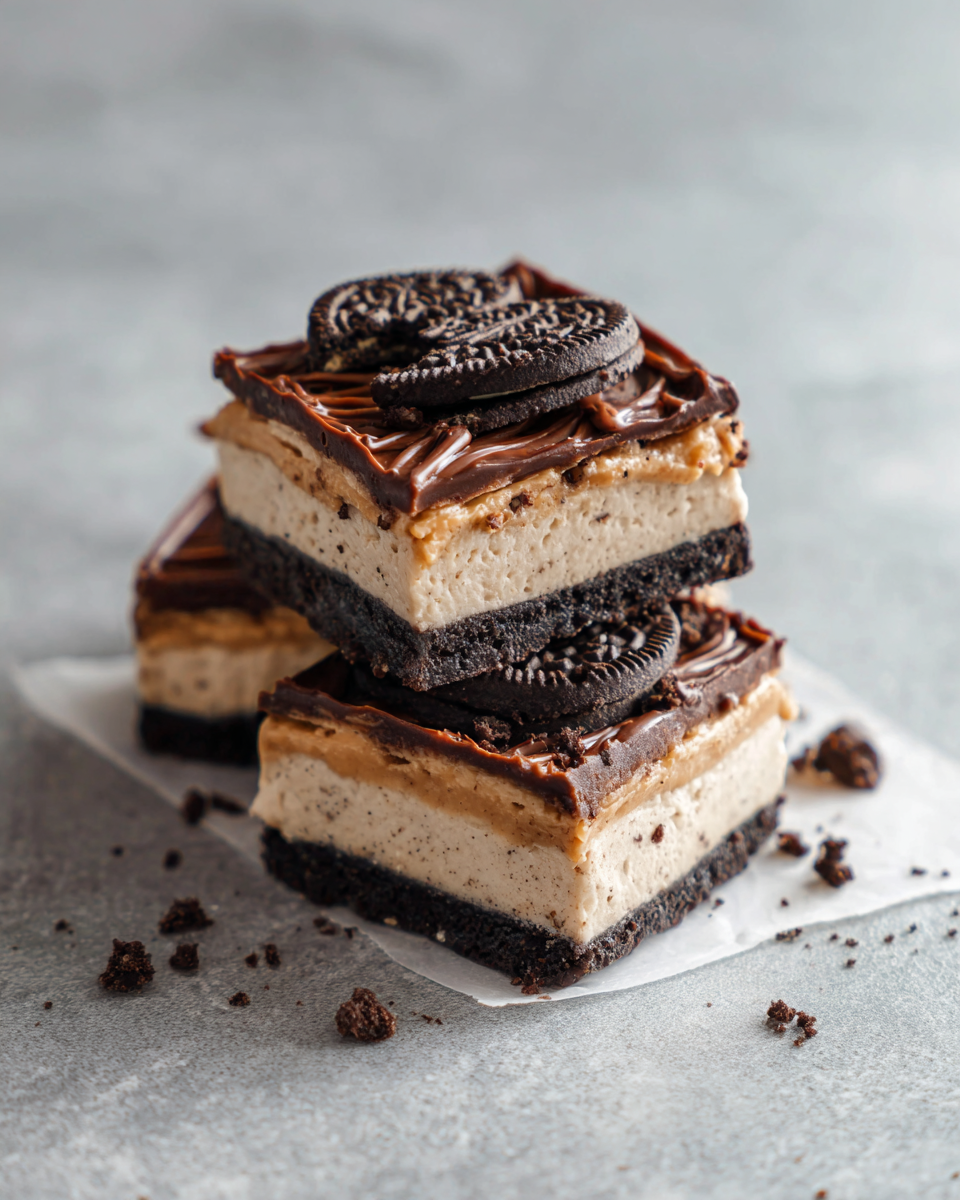
From the first bite, these No-Bake Oreo Peanut Butter Bars offer a perfect blend of creamy peanut butter, crunchy Oreo cookies, and a touch of sweetness that feels both nostalgic and new. What I love most about this recipe is how approachable it is—no fancy equipment, no complicated steps, just pure, straightforward goodness. As a mom, I appreciate how quickly these bars come together, making them ideal for busy weeknights or impromptu gatherings where you want to impress without the stress.
These bars also bring a wonderful balance of textures. The crushed Oreos add a satisfying crunch, while the peanut butter mixture is silky and rich. It’s a taste that sparks memories in my family, reminding me of those simple moments when sharing a treat felt like the best way to say, “I love you.” And because these bars don’t require baking, they’re a perfect activity to do with kids—my little ones love helping me press the layers into the pan, which always turns into our own little celebration of teamwork and fun.
Ingredients You’ll Need for This No-Bake Oreo Peanut Butter Bars
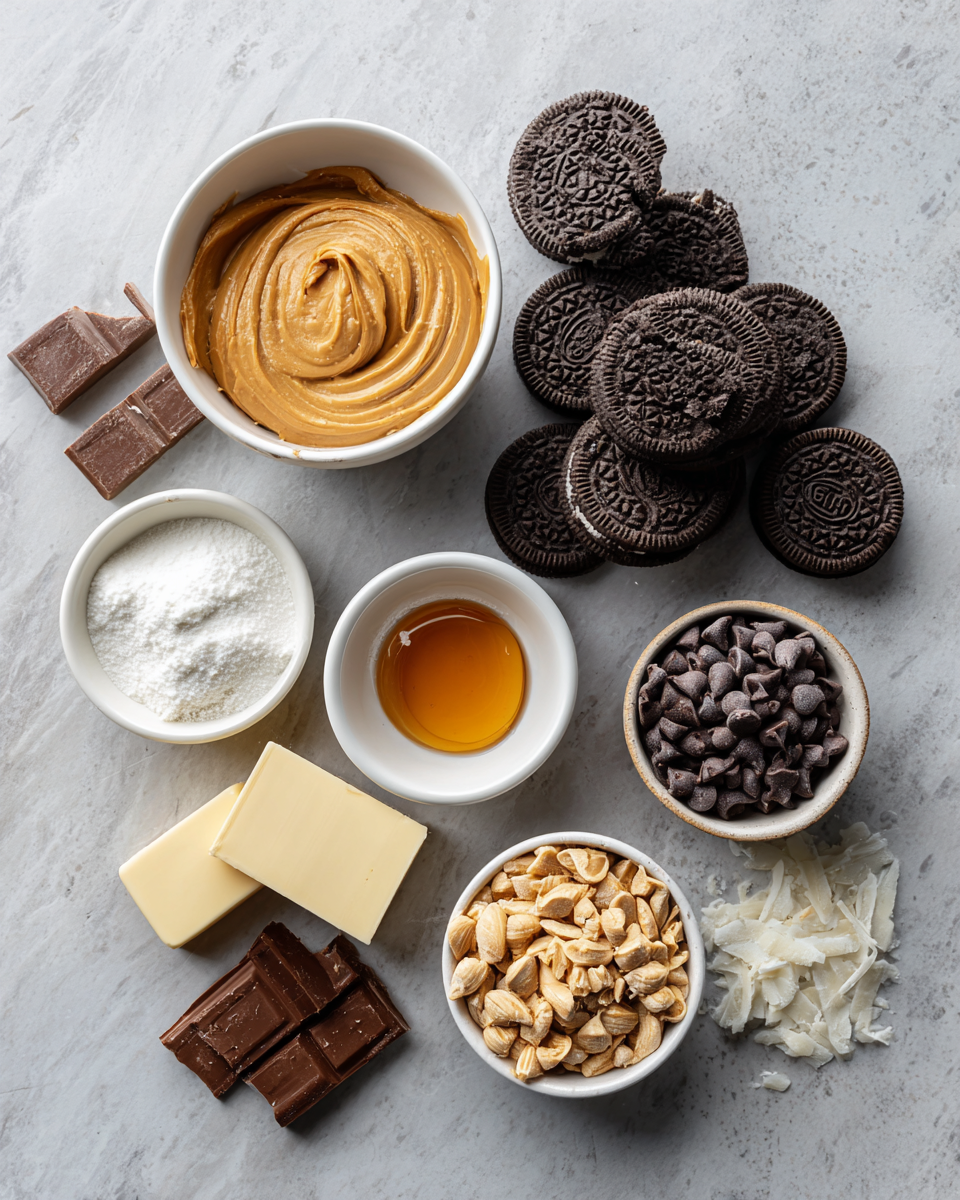
- 24 Oreo cookies (about 1 1/2 cups crushed)
- 1 cup creamy peanut butter (feel free to use natural or reduced-fat for a lighter option)
- 1/2 cup unsalted butter, melted
- 1 1/2 cups powdered sugar
- 1 cup semi-sweet chocolate chips
- 1 tablespoon coconut oil or vegetable oil (to help melt the chocolate smoothly)
If you want to switch things up, you can swap the peanut butter for almond butter for a different flavor profile, or use gluten-free Oreos if you’re catering to dietary needs. I’ve also found that using crunchy peanut butter adds a fun texture twist, especially if you’re like me and love a little extra crunch in every bite.
Nutrition Facts
- Calories: Approximately 280 per serving (based on 12 servings)
- Protein: 6g
- Fat: 18g
- Carbohydrates: 24g
- Fiber: 2g
- Sugar: 18g
- Sodium: 150mg
While these bars are certainly a treat, I love that they provide a little protein from the peanut butter, which helps balance the sweet flavors. As with all desserts, portion control is key, but I find that cutting them into smaller squares means everyone gets a taste without going overboard. Plus, sharing these bars with my family—the ultimate food critics—always feels like a win!
Print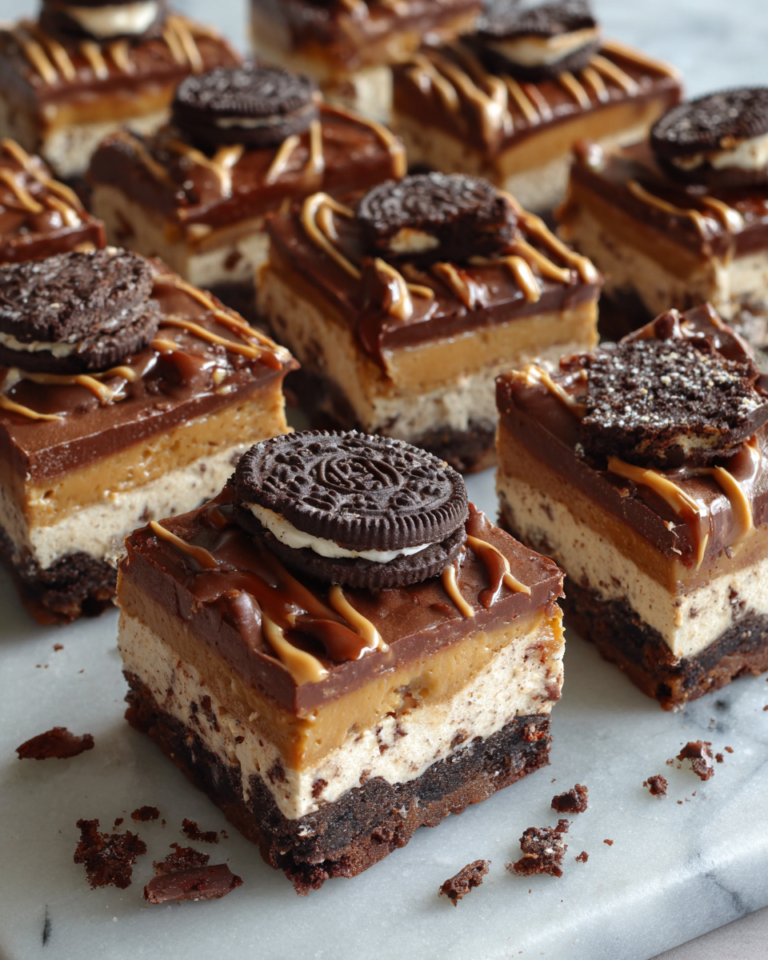
Irresistible No-Bake Oreo Peanut Butter Bars You Have to Try
Learn how to make delicious No-Bake Oreo Peanut Butter Bars. Easy recipe with step-by-step instructions.
- Total Time: 45 minutes
- Yield: 4 servings 1x
Ingredients
- 24 Oreo cookies (about 1 1/2 cups crushed)
- 1 cup creamy peanut butter (feel free to use natural or reduced-fat for a lighter option)
- 1/2 cup unsalted butter, melted
- 1 1/2 cups powdered sugar
- 1 cup semi-sweet chocolate chips
- 1 tablespoon coconut oil or vegetable oil (to help melt the chocolate smoothly)
If you want to switch things up, you can swap the peanut butter for almond butter for a different flavor profile, or use gluten-free Oreos if you’re catering to dietary needs. I’ve also found that using crunchy peanut butter adds a fun texture twist, especially if you’re like me and love a little extra crunch in every bite.
Instructions
- Line an 8×8-inch baking dish with parchment paper, leaving some overhang for easy removal later.
- Place the Oreo cookies in a food processor and pulse until finely crushed. If you don’t have a food processor, place the cookies in a sealed plastic bag and crush with a rolling pin until you have fine crumbs.
- In a medium bowl, combine the melted butter and peanut butter, stirring until smooth and well blended.
- Add the powdered sugar to the peanut butter mixture and stir until fully incorporated. This creates the creamy, sweet filling that helps hold the bars together.
- Remove about 1/2 cup of the crushed Oreo crumbs and set aside for topping.
- Press the remaining crushed Oreos firmly into the bottom of the prepared baking dish to form the base layer.
- Spread the peanut butter mixture evenly over the Oreo base, smoothing it out with the back of a spoon or spatula.
- Sprinkle the reserved Oreo crumbs evenly over the peanut butter layer.
- In a microwave-safe bowl, combine the chocolate chips and coconut oil. Microwave in 30-second intervals, stirring in between, until the chocolate is fully melted and smooth.
- Pour the melted chocolate over the top of the bars, spreading it evenly to cover the entire surface.
- Refrigerate the bars for at least 2 hours, or until the chocolate is set and bars are firm.
- Use the parchment paper overhang to lift the bars from the dish, then cut into 12 squares. Serve chilled for the best texture.
One tip I’ve learned from years of family cooking is to be gentle when pressing the Oreo base—too much pressure and the layer can become too dense, which affects the lightness of the bars. Also, letting the bars chill overnight makes for cleaner cuts and a more satisfying snap when you bite in.
- Prep Time: 15 minutes
- Cook Time: 30 minutes
- Category: Main Dish
- Method: Cooking
- Cuisine: International
Steps to Create Your No-Bake Oreo Peanut Butter Bars
- Line an 8×8-inch baking dish with parchment paper, leaving some overhang for easy removal later.
- Place the Oreo cookies in a food processor and pulse until finely crushed. If you don’t have a food processor, place the cookies in a sealed plastic bag and crush with a rolling pin until you have fine crumbs.
- In a medium bowl, combine the melted butter and peanut butter, stirring until smooth and well blended.
- Add the powdered sugar to the peanut butter mixture and stir until fully incorporated. This creates the creamy, sweet filling that helps hold the bars together.
- Remove about 1/2 cup of the crushed Oreo crumbs and set aside for topping.
- Press the remaining crushed Oreos firmly into the bottom of the prepared baking dish to form the base layer.
- Spread the peanut butter mixture evenly over the Oreo base, smoothing it out with the back of a spoon or spatula.
- Sprinkle the reserved Oreo crumbs evenly over the peanut butter layer.
- In a microwave-safe bowl, combine the chocolate chips and coconut oil. Microwave in 30-second intervals, stirring in between, until the chocolate is fully melted and smooth.
- Pour the melted chocolate over the top of the bars, spreading it evenly to cover the entire surface.
- Refrigerate the bars for at least 2 hours, or until the chocolate is set and bars are firm.
- Use the parchment paper overhang to lift the bars from the dish, then cut into 12 squares. Serve chilled for the best texture.
One tip I’ve learned from years of family cooking is to be gentle when pressing the Oreo base—too much pressure and the layer can become too dense, which affects the lightness of the bars. Also, letting the bars chill overnight makes for cleaner cuts and a more satisfying snap when you bite in. Learn more: Irresistible Salted Caramel Cheesecake Crunch Bars You Have to Try
Tips for Making the Best No-Bake Oreo Peanut Butter Bars
Over the years, I’ve tweaked this recipe to make it as foolproof as possible, especially for busy parents like me. Here are a few tips that make all the difference:
- Use room temperature peanut butter: It blends more smoothly and prevents clumps in the filling.
- Don’t skip the parchment paper: It makes removing the bars from the pan a breeze and keeps your bars intact.
- Crush Oreos finely: This helps the base layer stick together without being crumbly.
- Be patient with chilling: The bars need time to set properly; rushing this step can lead to messy slices.
- Customize your chocolate topping: Feel free to mix in a pinch of sea salt or swirl in white chocolate for an extra layer of flavor.
These small adjustments come from my own kitchen adventures and those moments when I’ve watched my kids eagerly await dessert, reminding me that the best recipes aren’t just about taste—they’re about the memories we create while making them.
Serving Suggestions and Pairings
No-Bake Oreo Peanut Butter Bars are a versatile treat that pairs beautifully with a variety of drinks and snacks. Here are a few of my favorite ways to serve them:
- A cold glass of milk—classic and comforting, especially for kids coming home from school.
- A cup of freshly brewed coffee or espresso for a grown-up afternoon pick-me-up.
- A scoop of vanilla ice cream on the side for an indulgent dessert experience.
- Fresh berries or sliced bananas to add a refreshing contrast to the richness of the bars.
- As part of a dessert platter alongside other no-bake treats for parties or family gatherings.
One of my fondest memories is serving these bars at a family picnic last summer. Watching the kids’ faces light up as they scraped the last bit of chocolate from the pan reminded me why I started RecipeChic—to share these moments of joy that food can bring.
Storage and Reheating Tips
Since these bars don’t bake, storing them properly is key to keeping their texture just right. Here’s how I handle leftovers (yes, they rarely last long!):
- Store the bars in an airtight container in the refrigerator for up to 5 days.
- For longer storage, you can freeze the bars for up to 2 months. Wrap them tightly in plastic wrap and then place in a freezer-safe container.
- When ready to enjoy, thaw frozen bars in the refrigerator overnight.
- Serve chilled or at room temperature—avoid microwaving, as it can melt the chocolate topping and change the texture.
In my experience, these bars actually taste better after a day or two as the flavors meld together. Plus, having a stash in the fridge is a lifesaver for those unexpected sweet cravings or when friends drop by.
Frequently Asked Questions
What are the main ingredients for No-Bake Oreo Peanut Butter Bars?
The main ingredients for No-Bake Oreo Peanut Butter Bars include the items listed in our ingredients section above. Each ingredient plays a crucial role in achieving the perfect flavor and texture.
How long does it take to make No-Bake Oreo Peanut Butter Bars?
The total time to make No-Bake Oreo Peanut Butter Bars includes both preparation and cooking time. Check the recipe card above for exact timing details.
Can I make No-Bake Oreo Peanut Butter Bars ahead of time?
Yes, No-Bake Oreo Peanut Butter Bars can often be prepared in advance. Store it properly in an airtight container in the refrigerator and consume within the recommended timeframe.
What can I serve with No-Bake Oreo Peanut Butter Bars?
No-Bake Oreo Peanut Butter Bars pairs well with various sides and accompaniments. Consider the serving suggestions mentioned in the recipe for the best dining experience.
Is No-Bake Oreo Peanut Butter Bars suitable for special diets?
Depending on the ingredients used, No-Bake Oreo Peanut Butter Bars may be adapted for various dietary needs. Check the ingredients list and consider substitutions as needed for your dietary requirements.
Final Thoughts
These No-Bake Oreo Peanut Butter Bars are more than just a quick dessert—they’re a way to slow down and savor the little moments that make family life so rich. Every time I make them, I’m reminded of standing in my grandmother’s kitchen, learning how a few simple ingredients could bring so much happiness. That’s the heart of this recipe: it’s easy, it’s delicious, and it’s made to be shared with the people you love.
“Food isn’t just fuel—it’s the thread that ties our family together.”
Whether you’re a busy parent like me, a seasoned home cook, or someone just looking for a fuss-free dessert to brighten your day, I hope these bars become a staple in your kitchen. So grab your ingredients, pull up a chair, and enjoy every bite of these No-Bake Oreo Peanut Butter Bars—because here at RecipeChic, every recipe is a celebration of love, laughter, and the joy found in the everyday.