Tangy Twist on a Classic Key Lime Pie Rice Krispie Treats
There’s something wonderfully nostalgic about Rice Krispie treats—those gooey, crispy bites always bring me back to childhood afternoons spent in my grandmother’s kitchen. Over the years, I’ve loved twisting classic recipes into new flavors that tell a story, and these Key Lime Pie Rice Krispie Treats are one of my family’s recent favorites. They combine the tangy brightness of key lime with the familiar, comforting crunch of marshmallow and cereal. Every time I make them, I’m reminded of how simple ingredients, when mixed with a little love and creativity, can turn into something truly special around my table.
Table of Contents
Why You’ll Love This Key Lime Pie Rice Krispie Treats
What makes these Key Lime Pie Rice Krispie Treats stand out isn’t just the refreshing lime zing—it’s how they bring a little sunshine to your snack game while still feeling cozy and familiar. As a busy mom, I’m always looking for treats that are quick to pull together but still feel thoughtful. These treats are perfect for those moments when you want a little indulgence without spending hours in the kitchen.
Plus, they’re fun to make with kids. I vividly remember my daughter’s eyes lighting up the first time we added the lime zest and a sprinkle of crushed graham crackers on top—it felt like dessert magic right in our own kitchen. The tartness of the lime cuts through the sweetness, creating a balanced bite that keeps everyone coming back for more. If you love that classic key lime pie flavor but want something handheld and playful, these treats are your new best friend.
Ingredients You’ll Need for This Key Lime Pie Rice Krispie Treats

- 6 cups Rice Krispies cereal
- 4 cups mini marshmallows
- 3 tablespoons unsalted butter
- 1/4 cup key lime juice (freshly squeezed if possible)
- 1 tablespoon key lime zest
- 1 teaspoon vanilla extract
- 1/2 cup powdered sugar
- 1/3 cup crushed graham crackers (plus extra for garnish)
- Pinch of salt
If you don’t have key limes on hand, regular lime juice works as a substitute, but key limes give that authentic tartness that really makes these treats sing. For a dairy-free version, swap the butter for coconut oil, which adds a subtle tropical note that pairs beautifully with the lime.
Nutrition Facts
- Calories: Approximately 190 per serving (serving size: 1 bar)
- Protein: 2g
- Fat: 6g (mostly from butter)
- Carbohydrates: 32g
- Fiber: 0.5g
- Sugar: 18g (from marshmallows and powdered sugar)
- Sodium: 90mg
While these treats aren’t an everyday snack in my house, I believe in enjoying sweets mindfully—especially when made with real ingredients and a little homemade love. They’re perfect for special occasions or a weekend pick-me-up.
Print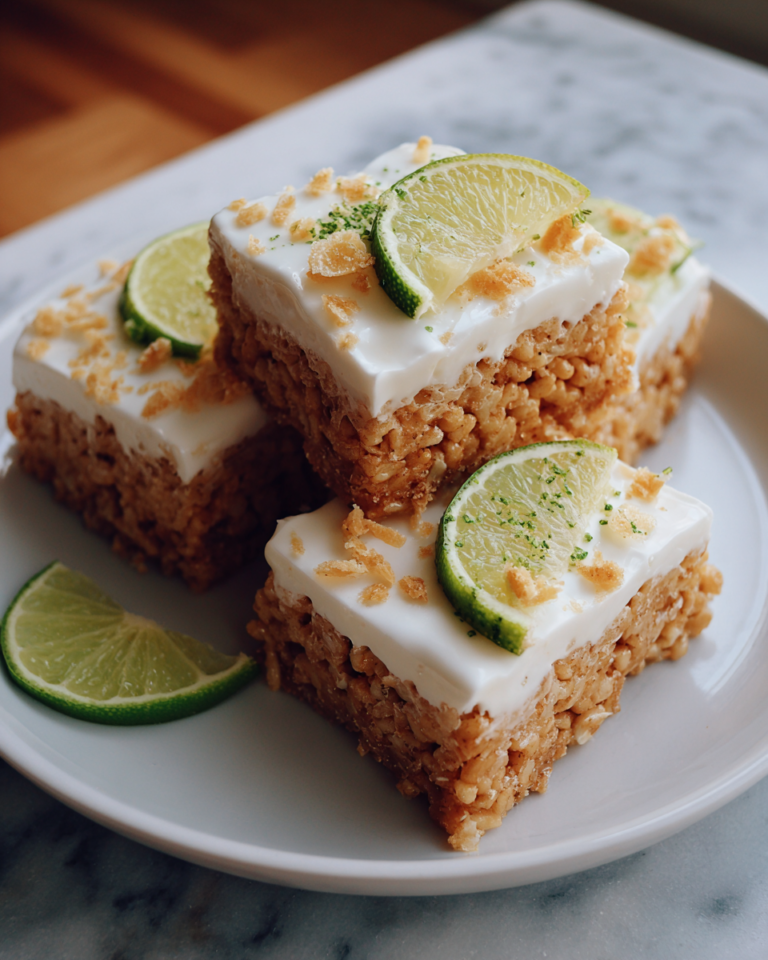
Tangy Twist on a Classic Key Lime Pie Rice Krispie Treats
Learn how to make delicious Key Lime Pie Rice Krispie Treats. Easy recipe with step-by-step instructions.
- Total Time: 45 minutes
- Yield: 4 servings 1x
Ingredients
- 6 cups Rice Krispies cereal
- 4 cups mini marshmallows
- 3 tablespoons unsalted butter
- 1/4 cup key lime juice (freshly squeezed if possible)
- 1 tablespoon key lime zest
- 1 teaspoon vanilla extract
- 1/2 cup powdered sugar
- 1/3 cup crushed graham crackers (plus extra for garnish)
- Pinch of salt
If you don’t have key limes on hand, regular lime juice works as a substitute, but key limes give that authentic tartness that really makes these treats sing. For a dairy-free version, swap the butter for coconut oil, which adds a subtle tropical note that pairs beautifully with the lime.
Instructions
- Prepare a 9×13-inch baking dish by greasing it lightly with butter or lining it with parchment paper for easy removal.
- In a large pot, melt the butter over low heat. Once melted, add the mini marshmallows and stir constantly until they’re completely melted and smooth. This usually takes about 3-4 minutes—watch closely to avoid burning.
- Remove the pot from heat and stir in the key lime juice, key lime zest, vanilla extract, powdered sugar, and a pinch of salt. This is where the magic happens—the marshmallow mixture will become tangy and sweet all at once. Stir until everything is fully combined.
- Fold in the Rice Krispies cereal gently but thoroughly, making sure every bit is coated with that luscious lime marshmallow mixture.
- Transfer the mixture to your prepared pan. Using a buttered spatula or wax paper, press it evenly into the dish. Don’t pack it too tightly—you want those crispy textures to stay light and airy.
- Sprinkle the crushed graham crackers evenly over the top, gently pressing them in so they stick but don’t sink.
- Allow the treats to cool completely at room temperature, about 1 hour, before cutting into squares. This step is key for clean edges and that perfect chewy-crisp bite.
I’ve found that letting these treats rest really helps the flavors meld together. One evening, I made a batch after dinner and left them to cool while helping the kids with homework. When we finally sat down for a taste test, the lime flavor was brighter and the texture just right. It’s little moments like these—savoring food alongside family—that keep me coming back to the kitchen.
- Prep Time: 15 minutes
- Cook Time: 30 minutes
- Category: Main Dish
- Method: Cooking
- Cuisine: International
Steps to Create Your Key Lime Pie Rice Krispie Treats
- Prepare a 9×13-inch baking dish by greasing it lightly with butter or lining it with parchment paper for easy removal.
- In a large pot, melt the butter over low heat. Once melted, add the mini marshmallows and stir constantly until they’re completely melted and smooth. This usually takes about 3-4 minutes—watch closely to avoid burning.
- Remove the pot from heat and stir in the key lime juice, key lime zest, vanilla extract, powdered sugar, and a pinch of salt. This is where the magic happens—the marshmallow mixture will become tangy and sweet all at once. Stir until everything is fully combined.
- Fold in the Rice Krispies cereal gently but thoroughly, making sure every bit is coated with that luscious lime marshmallow mixture.
- Transfer the mixture to your prepared pan. Using a buttered spatula or wax paper, press it evenly into the dish. Don’t pack it too tightly—you want those crispy textures to stay light and airy.
- Sprinkle the crushed graham crackers evenly over the top, gently pressing them in so they stick but don’t sink.
- Allow the treats to cool completely at room temperature, about 1 hour, before cutting into squares. This step is key for clean edges and that perfect chewy-crisp bite.
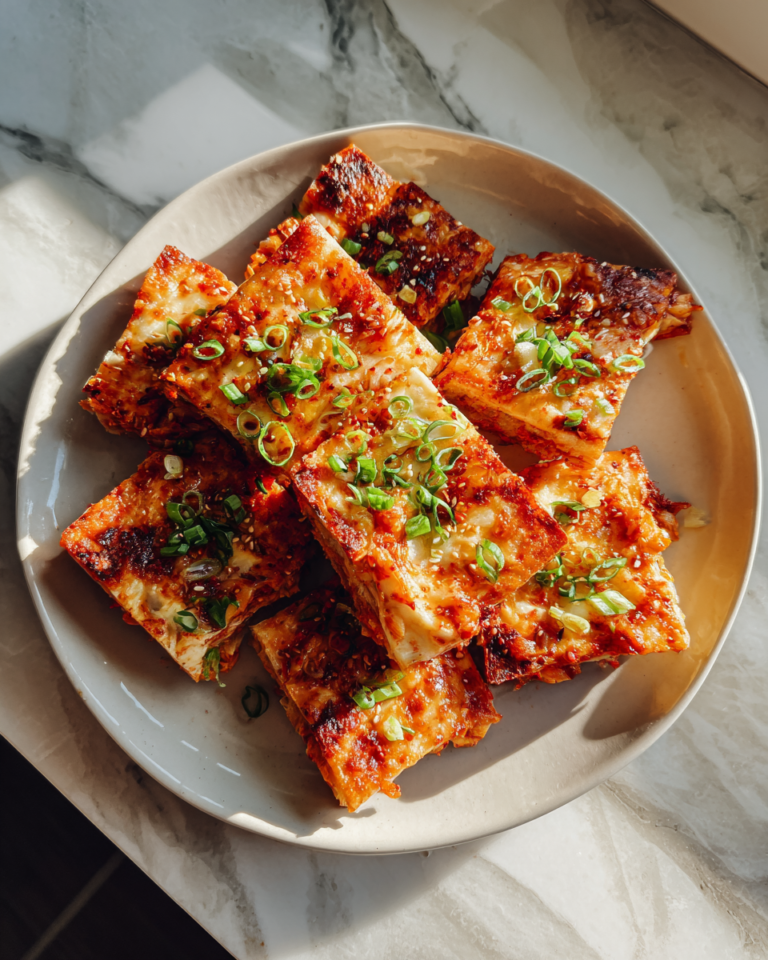
I’ve found that letting these treats rest really helps the flavors meld together. One evening, I made a batch after dinner and left them to cool while helping the kids with homework. When we finally sat down for a taste test, the lime flavor was brighter and the texture just right. It’s little moments like these—savoring food alongside family—that keep me coming back to the kitchen. Learn more: Irresistible Chinese Scallion Pancakes You Need to Try Today
Tips for Making the Best Key Lime Pie Rice Krispie Treats
From years of cooking for my family, I’ve learned a few tricks that take these treats from good to unforgettable:
- Use fresh key lime juice and zest: It makes all the difference. The bottled stuff just can’t compete with the brightness and aroma of fresh lime.
- Don’t overheat the marshmallows: Melt them gently on low heat to avoid a burnt taste or tough texture. Patience here pays off.
- Press the mixture firmly but not too hard: This ensures your treats hold together without becoming dense or chewy in a bad way.
- Experiment with the topping: If crushed graham crackers aren’t your thing, try a sprinkle of toasted coconut or white chocolate shavings for a fun twist.
- Make it a family affair: Let the kids help with stirring or pressing the mixture; it’s a wonderful way to slow down and connect over something sweet.
“Cooking became my way to slow down, connect, and show love.” This recipe embodies that for me—it’s quick enough for a busy week but special enough to make memories.
Serving Suggestions and Pairings

These Key Lime Pie Rice Krispie Treats shine on their own as a bright, zesty snack, but I love pairing them with a few simple accompaniments to round out the experience. Here are some ideas I’ve enjoyed with my family:
- A scoop of creamy vanilla ice cream or coconut sorbet for a cool contrast
- A cup of freshly brewed iced tea or lemonade to complement the citrus notes
- A handful of fresh berries to add a juicy, tart bite alongside the treats
- Miniature key lime pies or tartlets for an all-in citrus dessert spread at summer gatherings
At home, these treats have become a staple for our weekend movie nights or post-picnic desserts. They’re easy to grab, share, and savor—exactly what I want for my family when life gets busy.
Storage and Reheating Tips
I always make sure to store these treats properly so they stay fresh and delicious. Here’s what works best in my kitchen:
- Store in an airtight container at room temperature for up to 3 days. This keeps the marshmallow coating chewy and the cereal crispy.
- If you want to keep them longer, wrap individual bars in plastic wrap and freeze for up to 1 month. Thaw at room temperature before serving.
- Reheating isn’t usually necessary, but if you want to soften them slightly, microwave for 5-7 seconds. Be careful not to melt the marshmallow again.
One time, I stored a batch overnight and found the top layer of graham crackers had softened a bit. A quick toast under the broiler for 30 seconds crisped them right back up—just watch closely so they don’t burn!
Frequently Asked Questions
What are the main ingredients for Key Lime Pie Rice Krispie Treats?
The main ingredients for Key Lime Pie Rice Krispie Treats include the items listed in our ingredients section above. Each ingredient plays a crucial role in achieving the perfect flavor and texture.
How long does it take to make Key Lime Pie Rice Krispie Treats?
The total time to make Key Lime Pie Rice Krispie Treats includes both preparation and cooking time. Check the recipe card above for exact timing details.
Can I make Key Lime Pie Rice Krispie Treats ahead of time?
Yes, Key Lime Pie Rice Krispie Treats can often be prepared in advance. Store it properly in an airtight container in the refrigerator and consume within the recommended timeframe.
What can I serve with Key Lime Pie Rice Krispie Treats?
Key Lime Pie Rice Krispie Treats pairs well with various sides and accompaniments. Consider the serving suggestions mentioned in the recipe for the best dining experience.
Is Key Lime Pie Rice Krispie Treats suitable for special diets?
Depending on the ingredients used, Key Lime Pie Rice Krispie Treats may be adapted for various dietary needs. Check the ingredients list and consider substitutions as needed for your dietary requirements.
Final Thoughts
These Key Lime Pie Rice Krispie Treats capture so much of what I love about cooking for my family: the blend of old and new, the chance to slow down and create something meaningful, and the joy of sharing a simple, delicious moment together. From standing on a stool in my grandmother’s kitchen to juggling work, parenting, and finding pockets of calm in the chaos, I’ve learned that food is much more than just sustenance. It’s love, it’s connection, and it’s a story told bite by bite.
If you’re looking for a treat that’s both nostalgic and fresh, easy but impressive, these Key Lime Pie Rice Krispie Treats are a must-try. Grab your ingredients, invite your loved ones into the kitchen, and let the magic of a pinch of zest and a handful of marshmallows bring a little extra joy to your day.