Ingredients
Scale
- 4 boneless, skinless chicken breasts (pounded to about 1/4-inch thickness)
- 8 ounces cream cheese, softened (full-fat gives the best flavor, but light works too)
- 3 cloves garlic, minced (fresh is best for that punch of flavor)
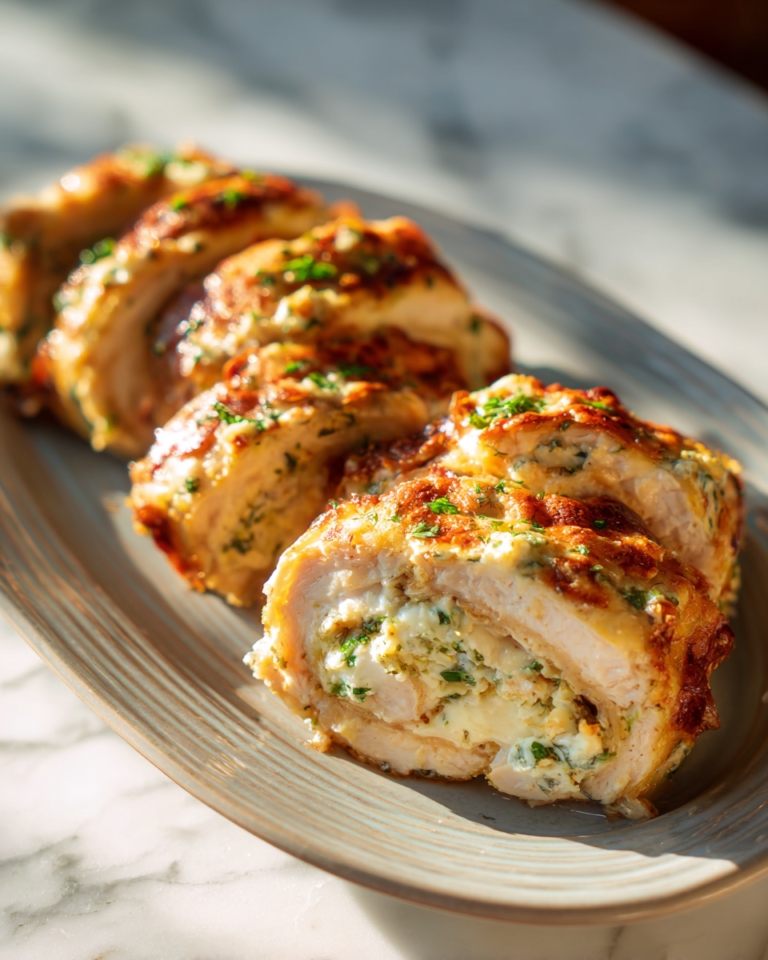
- 1/2 cup shredded mozzarella cheese
- 1/4 cup grated Parmesan cheese
- 2 tablespoons fresh parsley, finely chopped (or 1 tablespoon dried parsley)
- 1 teaspoon dried Italian seasoning
- Salt and pepper, to taste
- 2 tablespoons olive oil, for searing
- Toothpicks or kitchen twine, for securing roll-ups
If you’re looking for a substitution, you can swap mozzarella for provolone or even cheddar for a sharper twist. For a dairy-free option, try a vegan cream cheese and nutritional yeast instead of Parmesan. And if fresh garlic isn’t on hand, garlic powder works in a pinch, but fresh always wins in flavor.
Instructions
- Preheat your oven to 375°F (190°C) and line a baking dish with parchment paper or lightly grease it.
- Start by preparing the filling: in a medium bowl, combine the softened cream cheese, minced garlic, mozzarella, Parmesan, parsley, Italian seasoning, salt, and pepper. Mix until everything is evenly incorporated. I like to taste a tiny bit here—sometimes a little extra garlic or parsley really wakes up the flavors.
- Lay the pounded chicken breasts flat on a clean surface. Spread an equal amount of the cream cheese mixture over each piece, leaving about a half-inch border around the edges.
- Carefully roll up each chicken breast, starting from the narrow end, tucking in the filling as you go. Secure each roll-up with toothpicks or kitchen twine to keep everything in place during cooking.
- Heat olive oil in a large skillet over medium-high heat. Once hot, add the chicken roll-ups seam side down and sear for 2-3 minutes on each side until golden brown. This step locks in the juices and adds a lovely color that makes the dish feel a bit more special—something my family truly appreciates after a long day.
- Transfer the seared roll-ups to your prepared baking dish and bake in the preheated oven for 20-25 minutes, or until the chicken is cooked through and juices run clear (internal temperature should reach 165°F/74°C).
- Remove from oven and let rest for 5 minutes before removing toothpicks or twine. This little pause lets the juices redistribute, making every bite tender and juicy.
I remember the first time I rushed through the resting step—big mistake! The chicken lost some of its juiciness, and the filling was a bit runny. Now, I always remind myself that good things come to those who wait (even in the kitchen).
- Prep Time: 15 minutes
- Cook Time: 30 minutes
- Category: Main Dish
- Method: Cooking
- Cuisine: International