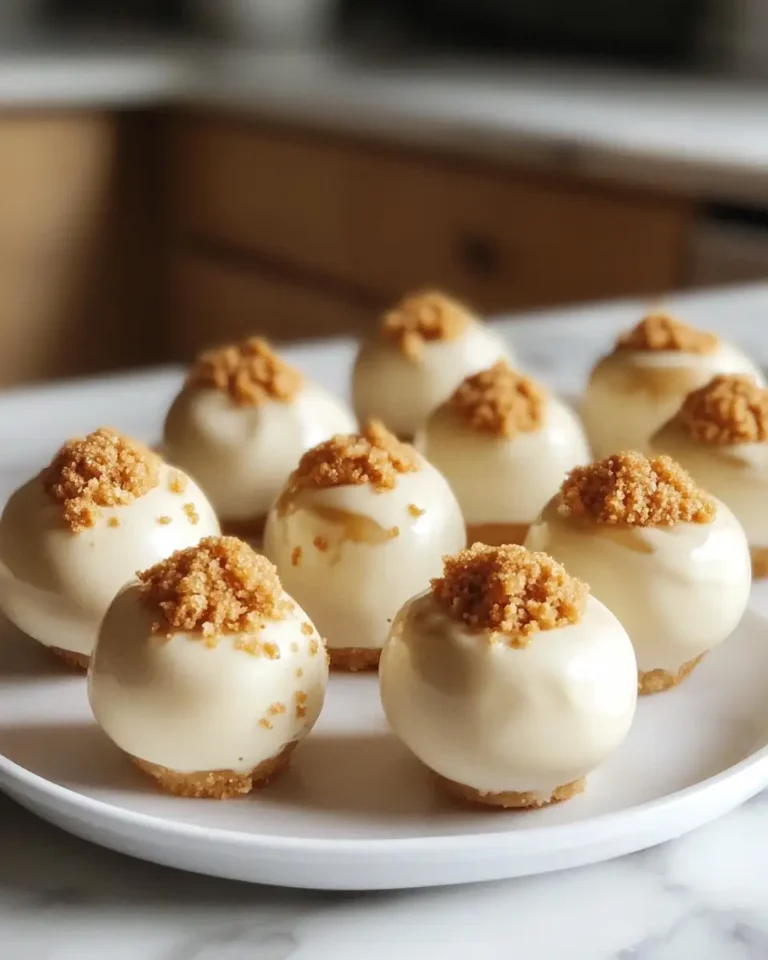
Irresistible Classic Cannoli Squares You Have to Try
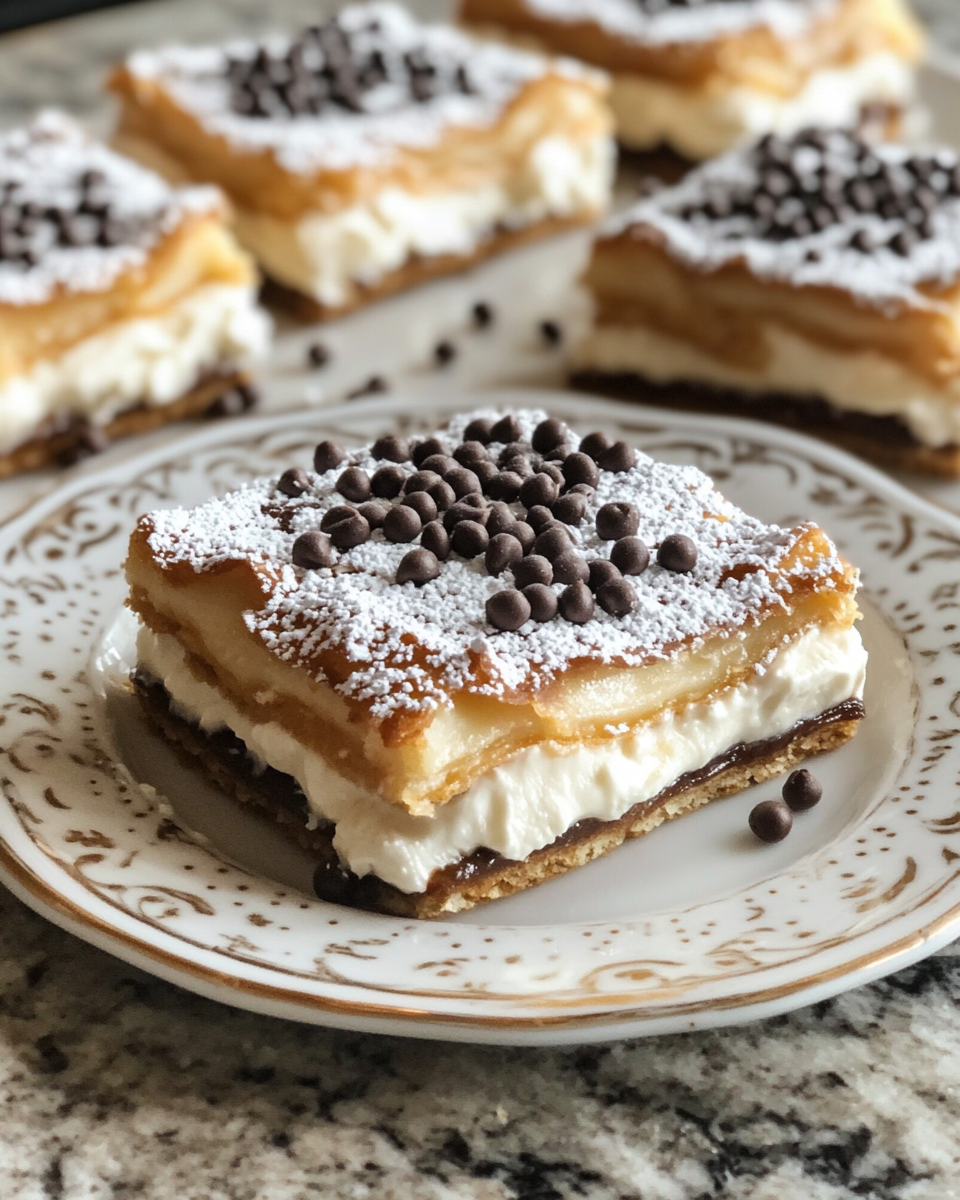
There’s something truly special about Classic Cannoli Squares that always brings a little sparkle to our family dessert table. These luscious layers of ricotta filling sandwiched between tender cake and a dusting of powdered sugar have become one of our go-to treats when I want to make mealtimes feel a bit more memorable without spending hours in the kitchen. I still smile thinking back to those afternoons in my grandmother’s kitchen, where I learned that the best desserts come from simple ingredients and a pinch of love. Today, I’m excited to share this recipe with you—not just because it’s delicious, but because it’s a sweet little slice of my family’s story that I hope will become part of yours too.
Table of Contents
Why You’ll Love This Classic Cannoli Squares
If you’ve ever fallen for the creamy, dreamy filling of a cannoli but wished for an easier way to enjoy it at home, these Classic Cannoli Squares are your answer. They capture all the flavors of traditional cannoli—ricotta, a hint of vanilla, and that delicate crunch—without the fuss of frying shells or piping tiny tubes. What I love most is how this dessert feels like a celebration, whether it’s a busy weeknight or a lazy Sunday afternoon spent with my family.
As a mom juggling meals and bedtime routines, I appreciate recipes that bring warmth and joy without demanding too much time. These squares do exactly that. They’re approachable enough for a novice baker but sophisticated enough to impress guests or just make your loved ones feel cherished. Every bite is a reminder that food is more than nourishment; it’s a way to slow down and savor moments together.
When I first made this recipe, I remember my kids sneaking into the kitchen, drawn by the sweet aroma, and the way their eyes lit up when I handed them a square warm from the oven. Moments like those remind me why I started RecipeChic—food is our family’s language of love, and these squares speak it fluently.
Ingredients You’ll Need for This Classic Cannoli Squares
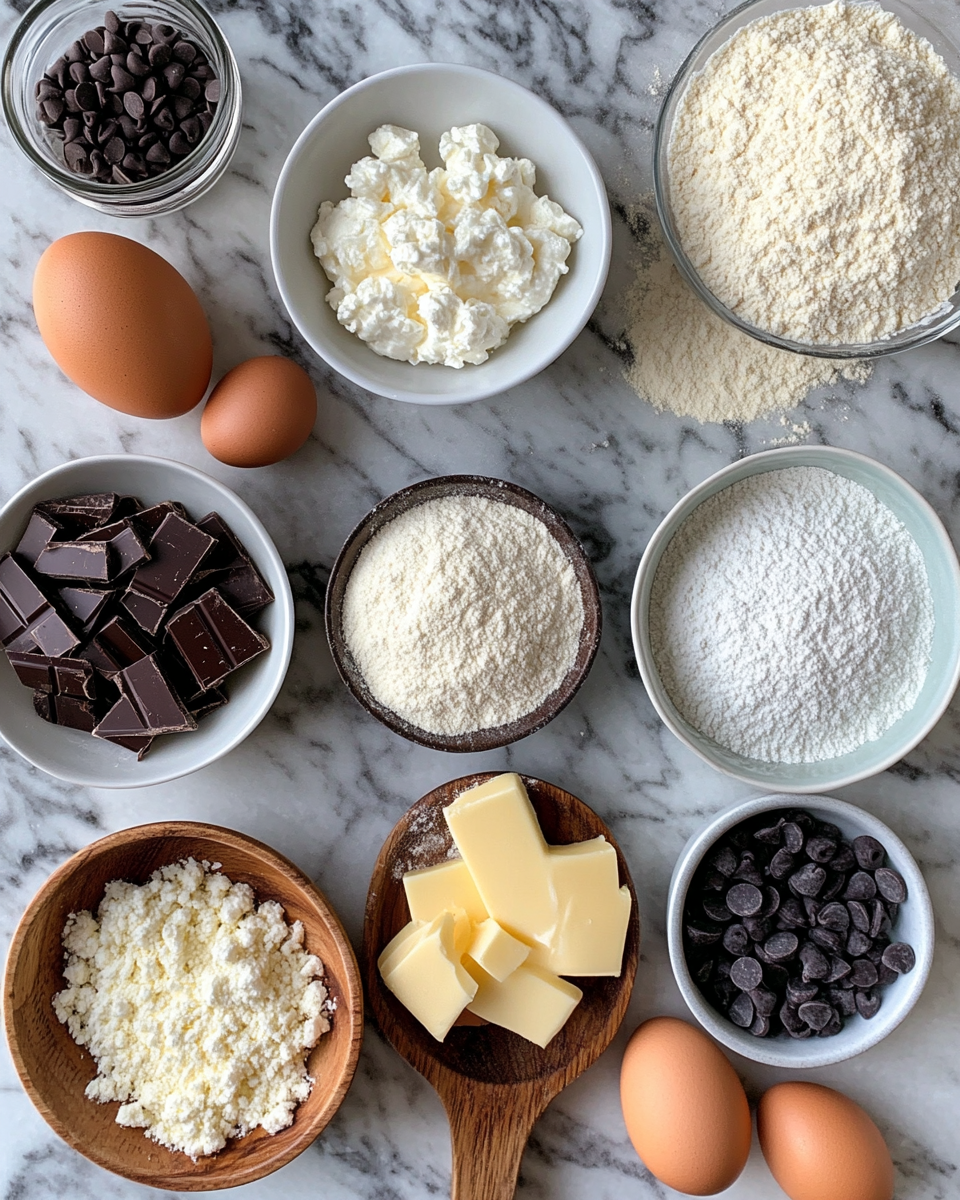
- 2 cups all-purpose flour (for a gluten-free option, try a 1:1 gluten-free baking flour)
- 1 cup granulated sugar
- 1/2 teaspoon baking powder
- 1/4 teaspoon salt
- 1/2 cup unsalted butter, softened
- 3 large eggs, separated
- 1 teaspoon vanilla extract
- 1 cup ricotta cheese (whole milk ricotta works best for creaminess; part-skim is fine too)
- 1/2 cup mascarpone cheese (optional, but it adds a lovely richness)
- 1/2 cup mini chocolate chips or finely chopped dark chocolate
- 1/2 cup powdered sugar, for dusting
- 1 tablespoon orange zest (optional, but it brings a bright, fresh note)
- 1 teaspoon lemon juice (to balance the sweetness)
If you don’t have mascarpone on hand, feel free to use an extra 1/2 cup of ricotta. For a dairy-free twist, coconut cream can substitute, though the texture will be a bit different but just as delightful. I’ve also played around with adding a pinch of cinnamon to the filling—it’s a subtle upgrade that my family secretly loves!
Nutrition Facts
- Calories: Approximately 280 per square (based on 12 servings)
- Protein: 6g
- Fat: 14g
- Carbohydrates: 30g
- Fiber: 1g
- Sugar: 18g
- Sodium: 110mg
These numbers can vary a bit depending on the exact brands and substitutions you use, but they give a good ballpark for what you’re enjoying. What I love is that this dessert can be part of a balanced approach to eating—because it’s homemade, you control the ingredients and can tweak it to suit your family’s needs.
Print
Irresistible Classic Cannoli Squares You Have to Try
Learn how to make delicious Classic Cannoli Squares. Easy recipe with step-by-step instructions.
- Total Time: 45 minutes
- Yield: 4 servings 1x
Ingredients
- 2 cups all-purpose flour (for a gluten-free option, try a 1:1 gluten-free baking flour)
- 1 cup granulated sugar
- 1/2 teaspoon baking powder
- 1/4 teaspoon salt
- 1/2 cup unsalted butter, softened
- 3 large eggs, separated
- 1 teaspoon vanilla extract
- 1 cup ricotta cheese (whole milk ricotta works best for creaminess; part-skim is fine too)
- 1/2 cup mascarpone cheese (optional, but it adds a lovely richness)
- 1/2 cup mini chocolate chips or finely chopped dark chocolate
- 1/2 cup powdered sugar, for dusting
- 1 tablespoon orange zest (optional, but it brings a bright, fresh note)
- 1 teaspoon lemon juice (to balance the sweetness)
If you don’t have mascarpone on hand, feel free to use an extra 1/2 cup of ricotta. For a dairy-free twist, coconut cream can substitute, though the texture will be a bit different but just as delightful. I’ve also played around with adding a pinch of cinnamon to the filling—it’s a subtle upgrade that my family secretly loves!
Instructions
- Preheat your oven to 350°F (175°C). Grease and flour a 9×13-inch baking pan or line it with parchment paper for easy removal.
- In a medium bowl, whisk together the flour, baking powder, and salt. This dry mix will give your squares a tender crumb.
- In a large bowl, cream the softened butter and granulated sugar together until light and fluffy—about 3 to 4 minutes. This step adds air, making the cake layer nicely tender.
- Add the egg yolks one at a time to the butter mixture, beating well after each addition. Stir in the vanilla extract and lemon juice for that bright flavor twist.
- Slowly add the dry ingredients to the wet ingredients, mixing just until combined. Over-mixing can make the cake tough, so be gentle here.
- In a separate bowl, beat the egg whites until stiff peaks form. This will help give the cake a light texture.
- Fold the egg whites gently into the batter in three additions, trying not to deflate the mixture.
- Pour half of the batter into the prepared pan and spread evenly with a spatula.
- In another bowl, combine the ricotta, mascarpone (if using), orange zest, and mini chocolate chips. Stir until smooth and creamy.
- Spread the ricotta mixture evenly over the batter in the pan.
- Top with the remaining batter, spreading carefully to cover the filling without mixing layers.
- Bake for 40 to 45 minutes, or until the top is golden and a toothpick inserted into the cake layer comes out clean (avoid poking the ricotta layer).
- Allow the squares to cool completely in the pan on a wire rack. This step is key for clean slicing and full flavor.
- Once cooled, dust generously with powdered sugar before cutting into squares.
One of my favorite tips I learned from those kitchen moments with Grandma is to let the dessert rest overnight if you can. The flavors meld beautifully, and the texture firms up just right, making each square a perfect bite of indulgence.
- Prep Time: 15 minutes
- Cook Time: 30 minutes
- Category: Main Dish
- Method: Cooking
- Cuisine: International
Steps to Create Your Classic Cannoli Squares
- Preheat your oven to 350°F (175°C). Grease and flour a 9×13-inch baking pan or line it with parchment paper for easy removal.
- In a medium bowl, whisk together the flour, baking powder, and salt. This dry mix will give your squares a tender crumb.
- In a large bowl, cream the softened butter and granulated sugar together until light and fluffy—about 3 to 4 minutes. This step adds air, making the cake layer nicely tender.
- Add the egg yolks one at a time to the butter mixture, beating well after each addition. Stir in the vanilla extract and lemon juice for that bright flavor twist.
- Slowly add the dry ingredients to the wet ingredients, mixing just until combined. Over-mixing can make the cake tough, so be gentle here.
- In a separate bowl, beat the egg whites until stiff peaks form. This will help give the cake a light texture.
- Fold the egg whites gently into the batter in three additions, trying not to deflate the mixture.
- Pour half of the batter into the prepared pan and spread evenly with a spatula.
- In another bowl, combine the ricotta, mascarpone (if using), orange zest, and mini chocolate chips. Stir until smooth and creamy.
- Spread the ricotta mixture evenly over the batter in the pan.
- Top with the remaining batter, spreading carefully to cover the filling without mixing layers.
- Bake for 40 to 45 minutes, or until the top is golden and a toothpick inserted into the cake layer comes out clean (avoid poking the ricotta layer).
- Allow the squares to cool completely in the pan on a wire rack. This step is key for clean slicing and full flavor.
- Once cooled, dust generously with powdered sugar before cutting into squares.
One of my favorite tips I learned from those kitchen moments with Grandma is to let the dessert rest overnight if you can. The flavors meld beautifully, and the texture firms up just right, making each square a perfect bite of indulgence. Learn more: Irresistible Butterscotch Toffee Cookie Bars You Have to Try
Tips for Making the Best Classic Cannoli Squares
Over the years, I’ve learned that the little details make a big difference in recipes like this. Here are some of my tried-and-true tips:
- Use fresh ricotta: The creaminess and mild tang are what make the filling shine. If your ricotta is too watery, drain it in a cheesecloth for about 30 minutes before using.
- Don’t skip the egg whites: Folding in whipped egg whites makes the cake layer tender and light, balancing the richness of the filling.
- Be gentle with mixing: Overworking the batter can lead to dense cake. Mix just until ingredients are combined.
- Let it cool and rest: Patience is a virtue here—cooling allows the layers to set and flavors to deepen.
- Customize your chips: Chocolate chips are classic, but chopped pistachios or candied orange peel can add a fun twist.
I remember one time when my son insisted on helping me fold in the egg whites. It was messy but magical—those moments where food becomes a family affair are what make cooking truly rewarding.
Serving Suggestions and Pairings
Classic Cannoli Squares are versatile and pair beautifully with a few simple accompaniments to elevate your dessert experience. Here are some ideas I often use when serving these at home or when guests come over:
- Serve with a dusting of extra powdered sugar and a sprig of fresh mint for a pop of color.
- A small bowl of fresh berries or a berry compote adds a pleasant tartness that balances the rich filling.
- For an adult gathering, a glass of sweet dessert wine, like Moscato or Vin Santo, complements the cannoli flavor wonderfully.
- For kids and family-friendly options, a scoop of vanilla bean ice cream on the side makes it extra comforting.
- A light espresso or cappuccino pairs perfectly for a cozy afternoon treat.
We often enjoy these squares after a Sunday roast or a family movie night—moments when comfort food and connection go hand in hand.
Storage and Reheating Tips
One of the reasons I love this recipe is how well it holds up, even if you make it ahead. Here’s how to keep your Classic Cannoli Squares fresh and delicious:
- Refrigerate: Store the squares in an airtight container in the fridge for up to 4 days. The ricotta filling needs to stay chilled.
- Freeze: Wrap individual squares tightly in plastic wrap and place them in a freezer-safe bag for up to 2 months. Thaw overnight in the refrigerator before serving.
- Reheat: For a warm treat, gently reheat squares in a low oven (about 300°F) for 5-7 minutes. Avoid the microwave if possible to retain texture.
- Powdered sugar: Dust again after reheating as it tends to melt away.
In our busy household, making a batch on the weekend and enjoying them throughout the week has been a game-changer. It’s the kind of dessert that feels special every time.
Frequently Asked Questions
What are the main ingredients for Classic Cannoli Squares?
The main ingredients for Classic Cannoli Squares include the items listed in our ingredients section above. Each ingredient plays a crucial role in achieving the perfect flavor and texture.
How long does it take to make Classic Cannoli Squares?
The total time to make Classic Cannoli Squares includes both preparation and cooking time. Check the recipe card above for exact timing details.
Can I make Classic Cannoli Squares ahead of time?
Yes, Classic Cannoli Squares can often be prepared in advance. Store it properly in an airtight container in the refrigerator and consume within the recommended timeframe.
What can I serve with Classic Cannoli Squares?
Classic Cannoli Squares pairs well with various sides and accompaniments. Consider the serving suggestions mentioned in the recipe for the best dining experience.
Is Classic Cannoli Squares suitable for special diets?
Depending on the ingredients used, Classic Cannoli Squares may be adapted for various dietary needs. Check the ingredients list and consider substitutions as needed for your dietary requirements.
Final Thoughts
Classic Cannoli Squares are more than just a dessert in my family—they’re a little tradition, a sweet pause in the whirlwind of daily life. From my grandmother’s kitchen to my own, these squares remind me that the best recipes are those that bring people together, whether it’s through a shared forkful or the laughter that fills the room while baking.
I hope this recipe brings you the same joy it has brought my family. It’s approachable enough to make on a busy night but special enough to celebrate the everyday moments that matter most. So next time you want to say “I love you” with something homemade, give these squares a try—and remember, the magic is always in the love you fold into the batter.
Here’s to many more delicious stories shared around your table. Grab your apron, and let’s keep savoring this journey together.