Ingredients
Scale
- 2 ¼ cups all-purpose flour (can substitute with gluten-free flour blend for gluten-free option)
- 1 cup unsalted butter, softened
- ¾ cup granulated sugar
- 1 teaspoon vanilla extract
- ½ teaspoon almond extract (optional, but adds a lovely depth)
- ½ teaspoon salt
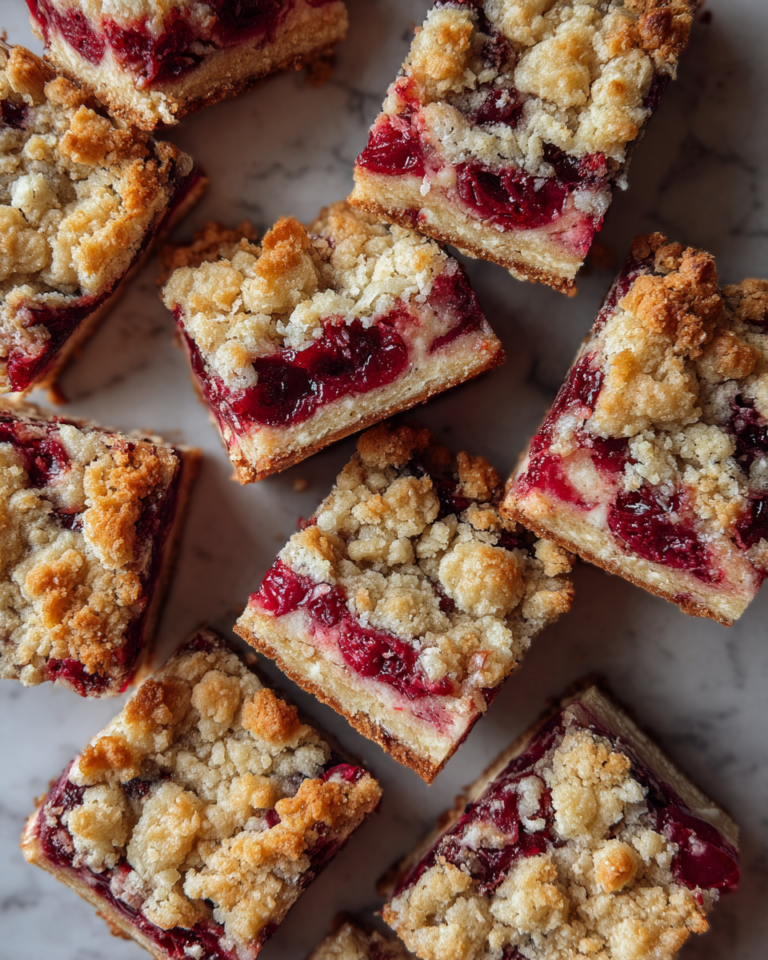
- 1 (21-ounce) can cherry pie filling (or homemade cherry filling if you prefer)
- ¼ cup powdered sugar (for dusting on top)
When I first started baking with my kids, I loved how forgiving this recipe was. If you don’t have almond extract on hand, vanilla alone works beautifully. And if you want to get a little creative, swapping in fresh cherries during cherry season makes this an even more special treat. I’ve also found that using a high-quality canned cherry pie filling really saves time without sacrificing flavor—because let’s be honest, sometimes we all need a shortcut.
Instructions
- Preheat your oven to 350°F (175°C) and line a 9×13-inch baking pan with parchment paper, leaving some overhang to lift the bars out easily once baked.
- In a large bowl, combine the softened butter and granulated sugar. Using a hand mixer or stand mixer, beat until the mixture is light and fluffy—this usually takes about 3-4 minutes. This step is key to getting that tender crumb, so don’t rush it.
- Add the vanilla extract, almond extract (if using), and salt. Mix until combined.
- Gradually add the flour, mixing on low speed just until the dough starts to come together. It will be crumbly but should hold when pressed.
- Press about two-thirds of the dough evenly into the bottom of your prepared pan. I like to use my hands here—there’s something so comforting about the tactile part of baking, isn’t there? Plus, it helps create an even layer.
- Spread the cherry pie filling evenly over the dough base. Try not to disturb the crust too much to keep that lovely layer intact.
- Crumble the remaining dough over the cherries, covering as much as you can. The bars will have a rustic, homemade look, which is part of their charm.
- Bake for 40-45 minutes, or until the top is golden and the filling is bubbly around the edges. Your kitchen will start to smell like Christmas magic in no time!
- Allow the bars to cool completely in the pan on a wire rack. Once cooled, use the parchment paper to lift the bars out, then cut into 12 squares.
- Dust the tops with powdered sugar just before serving for that festive extra touch.
I remember the first time I made these bars for a holiday party. I was balancing a toddler on one hip and stirring dough with the other hand, but the end result was worth every chaotic moment. These bars have a way of bringing people together, and that’s the real magic of baking in my book.
- Prep Time: 15 minutes
- Cook Time: 30 minutes
- Category: Main Dish
- Method: Cooking
- Cuisine: International